

Inviting people to a trip
Invite travel companions by email as a Contributor or Guest, and understand what each role can see and change.
Invite the people you are travelling with and they see the same itinerary you do, live. The trip's Owner sends invitations by email; each person joins as a Contributor who can edit everything or a Guest who can only look.
Send an invitation
Only the trip's Owner can invite people.
Open Trip Settings and choose the Invitations tab.
Under Travelers & Invitations, tap Invite Person.
Enter their Email Address.
Choose a Role:
- Contributor — "Can view and edit all trip details"
- Guest — "Can only view trip details (read-only)"
Tap Send Invitation.
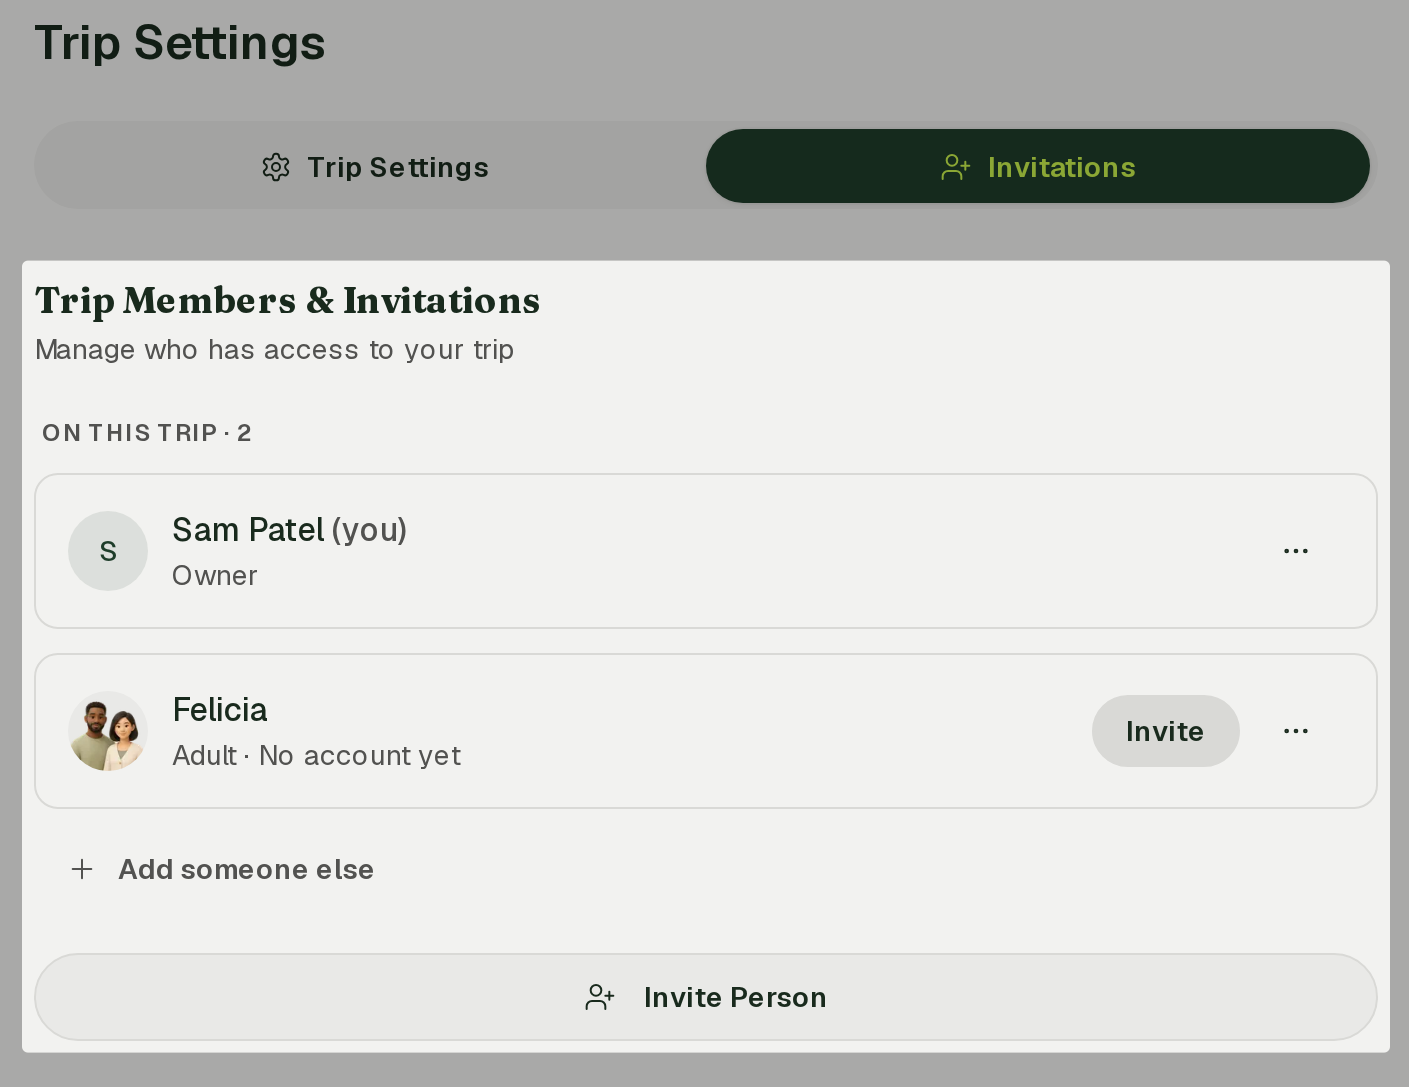
The invitation appears as Pending; when it is accepted, the selected traveler placeholder is claimed by the invitee's account.
If the email could not be delivered, the invitation still exists. Plannery shows the invitation link with a Copy link button so you can send it yourself, and marks the row Email failed.
Creating a new trip? The trip setup flow shows one row for each traveler. Add a name, choose someone from From your trips or Contacts, or enter Email, to invite them (optional). Those invitations go out once the trip is created.
Managing pending invitations
Each pending invitation row has a copy icon for its invitation link. When an invitation claims a traveler placeholder, the invitation and its status also appear on that traveler's row. Invitations expire after 7 days; an expired row shows Expired and gains a resend icon that issues a fresh link and emails it again. The trash icon opens Remove Invitation — tap Remove to withdraw it.
Contributors and Guests can open the Invitations tab too, but only see the member list, with the note "Only trip owners can manage invitations."
What the invitee sees
The email links to a page headed You're Invited!, showing the trip as a card with its dates and destinations.
- Tap Accept (or Decline).
- Choose Continue with Google, Continue with Apple, or Sign in with email / Create an account.
- The page shows the address the invitation was sent to. Sign in with that same address — a different account is refused with an explanation.
- Once signed in with the matching address, the invitation is accepted and the trip opens. If it does not accept automatically, tap Accept Invitation.
If the link has expired, the page says Invitation Expired and asks them to request a new one from you.
Roles at a glance
| Owner | Contributor | Guest | |
|---|---|---|---|
| View the itinerary, Bookings and Documents | Yes | Yes | Yes |
| Add, edit, move and remove stops | Yes | Yes | No |
| Add and edit Stays and Transportation | Yes | Yes | No |
| Edit trip details in Trip Settings | Yes | Yes | No |
| Add Day photos | Yes | Yes | Yes |
| Save the trip offline in the app | Yes | Yes | Yes |
| Add, rename and remove traveler placeholders | Yes | Yes | No |
| Invite and remove people | Yes | No | No |
| Delete the trip | Yes | No | No |
A Guest sees a note at the bottom of Trip Settings: "You have read-only access to this trip. Contact the trip owner to request edit permissions."
What stays private, whatever the role
Some things are yours alone, even on a shared trip:
- Your packing list. Every member has their own Packing list. Nobody else on the trip can see or edit it.
- Your Ask Plannery conversations. Every thread you start is private to you. Other members cannot read it, and you cannot read theirs.